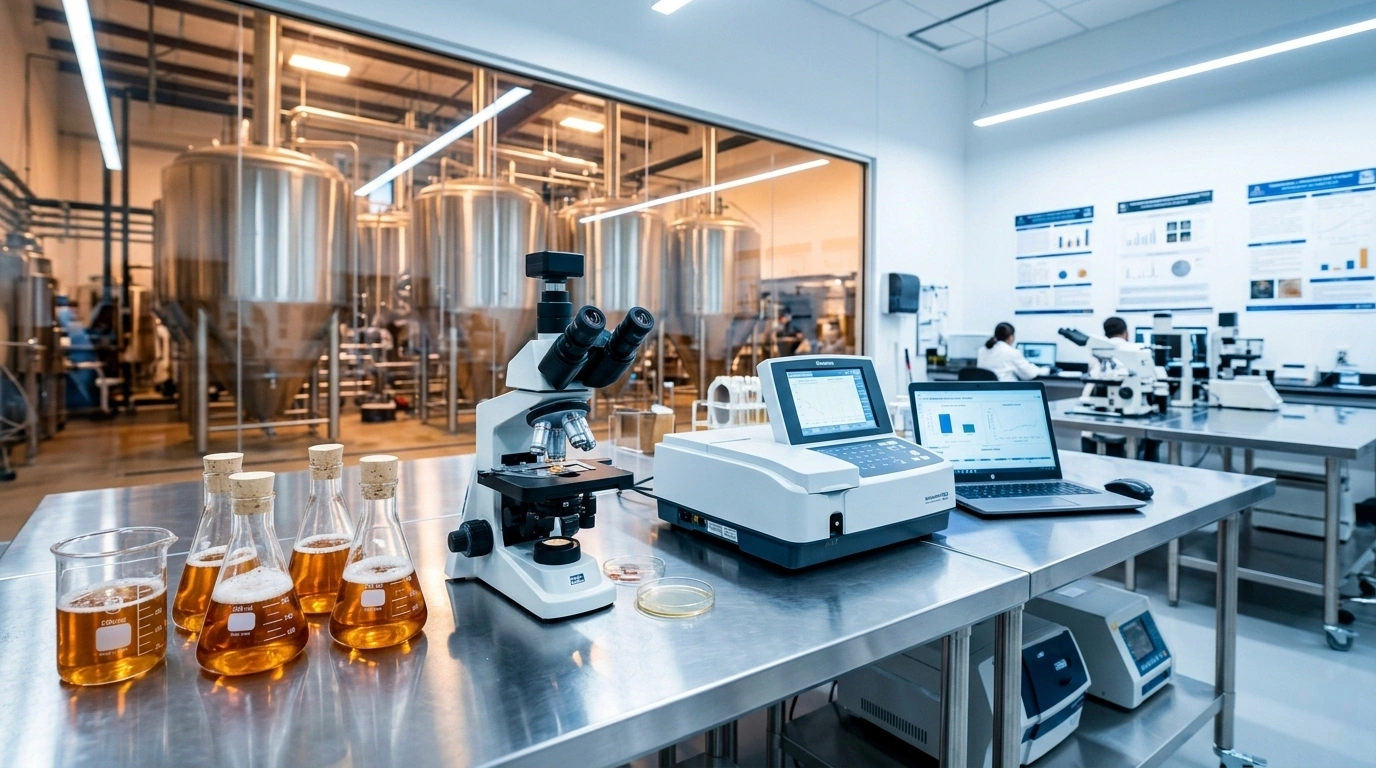
Turning an empty shell into a fully functional lab is complex. Whether it’s for research, clinical diagnostics, or QC, success comes down to smart planning. Here’s how to get your laboratory fit out right.
Master the “Golden Triangle”
Every lab has three core zones: reception (sample arrival), processing (hands-on work), and analysis/storage. Your layout should minimize travel between these points while keeping clean and dirty workflows separate. Cross-contamination ruins experiments-plan your cabinetry and benchtops to support a logical, linear flow.
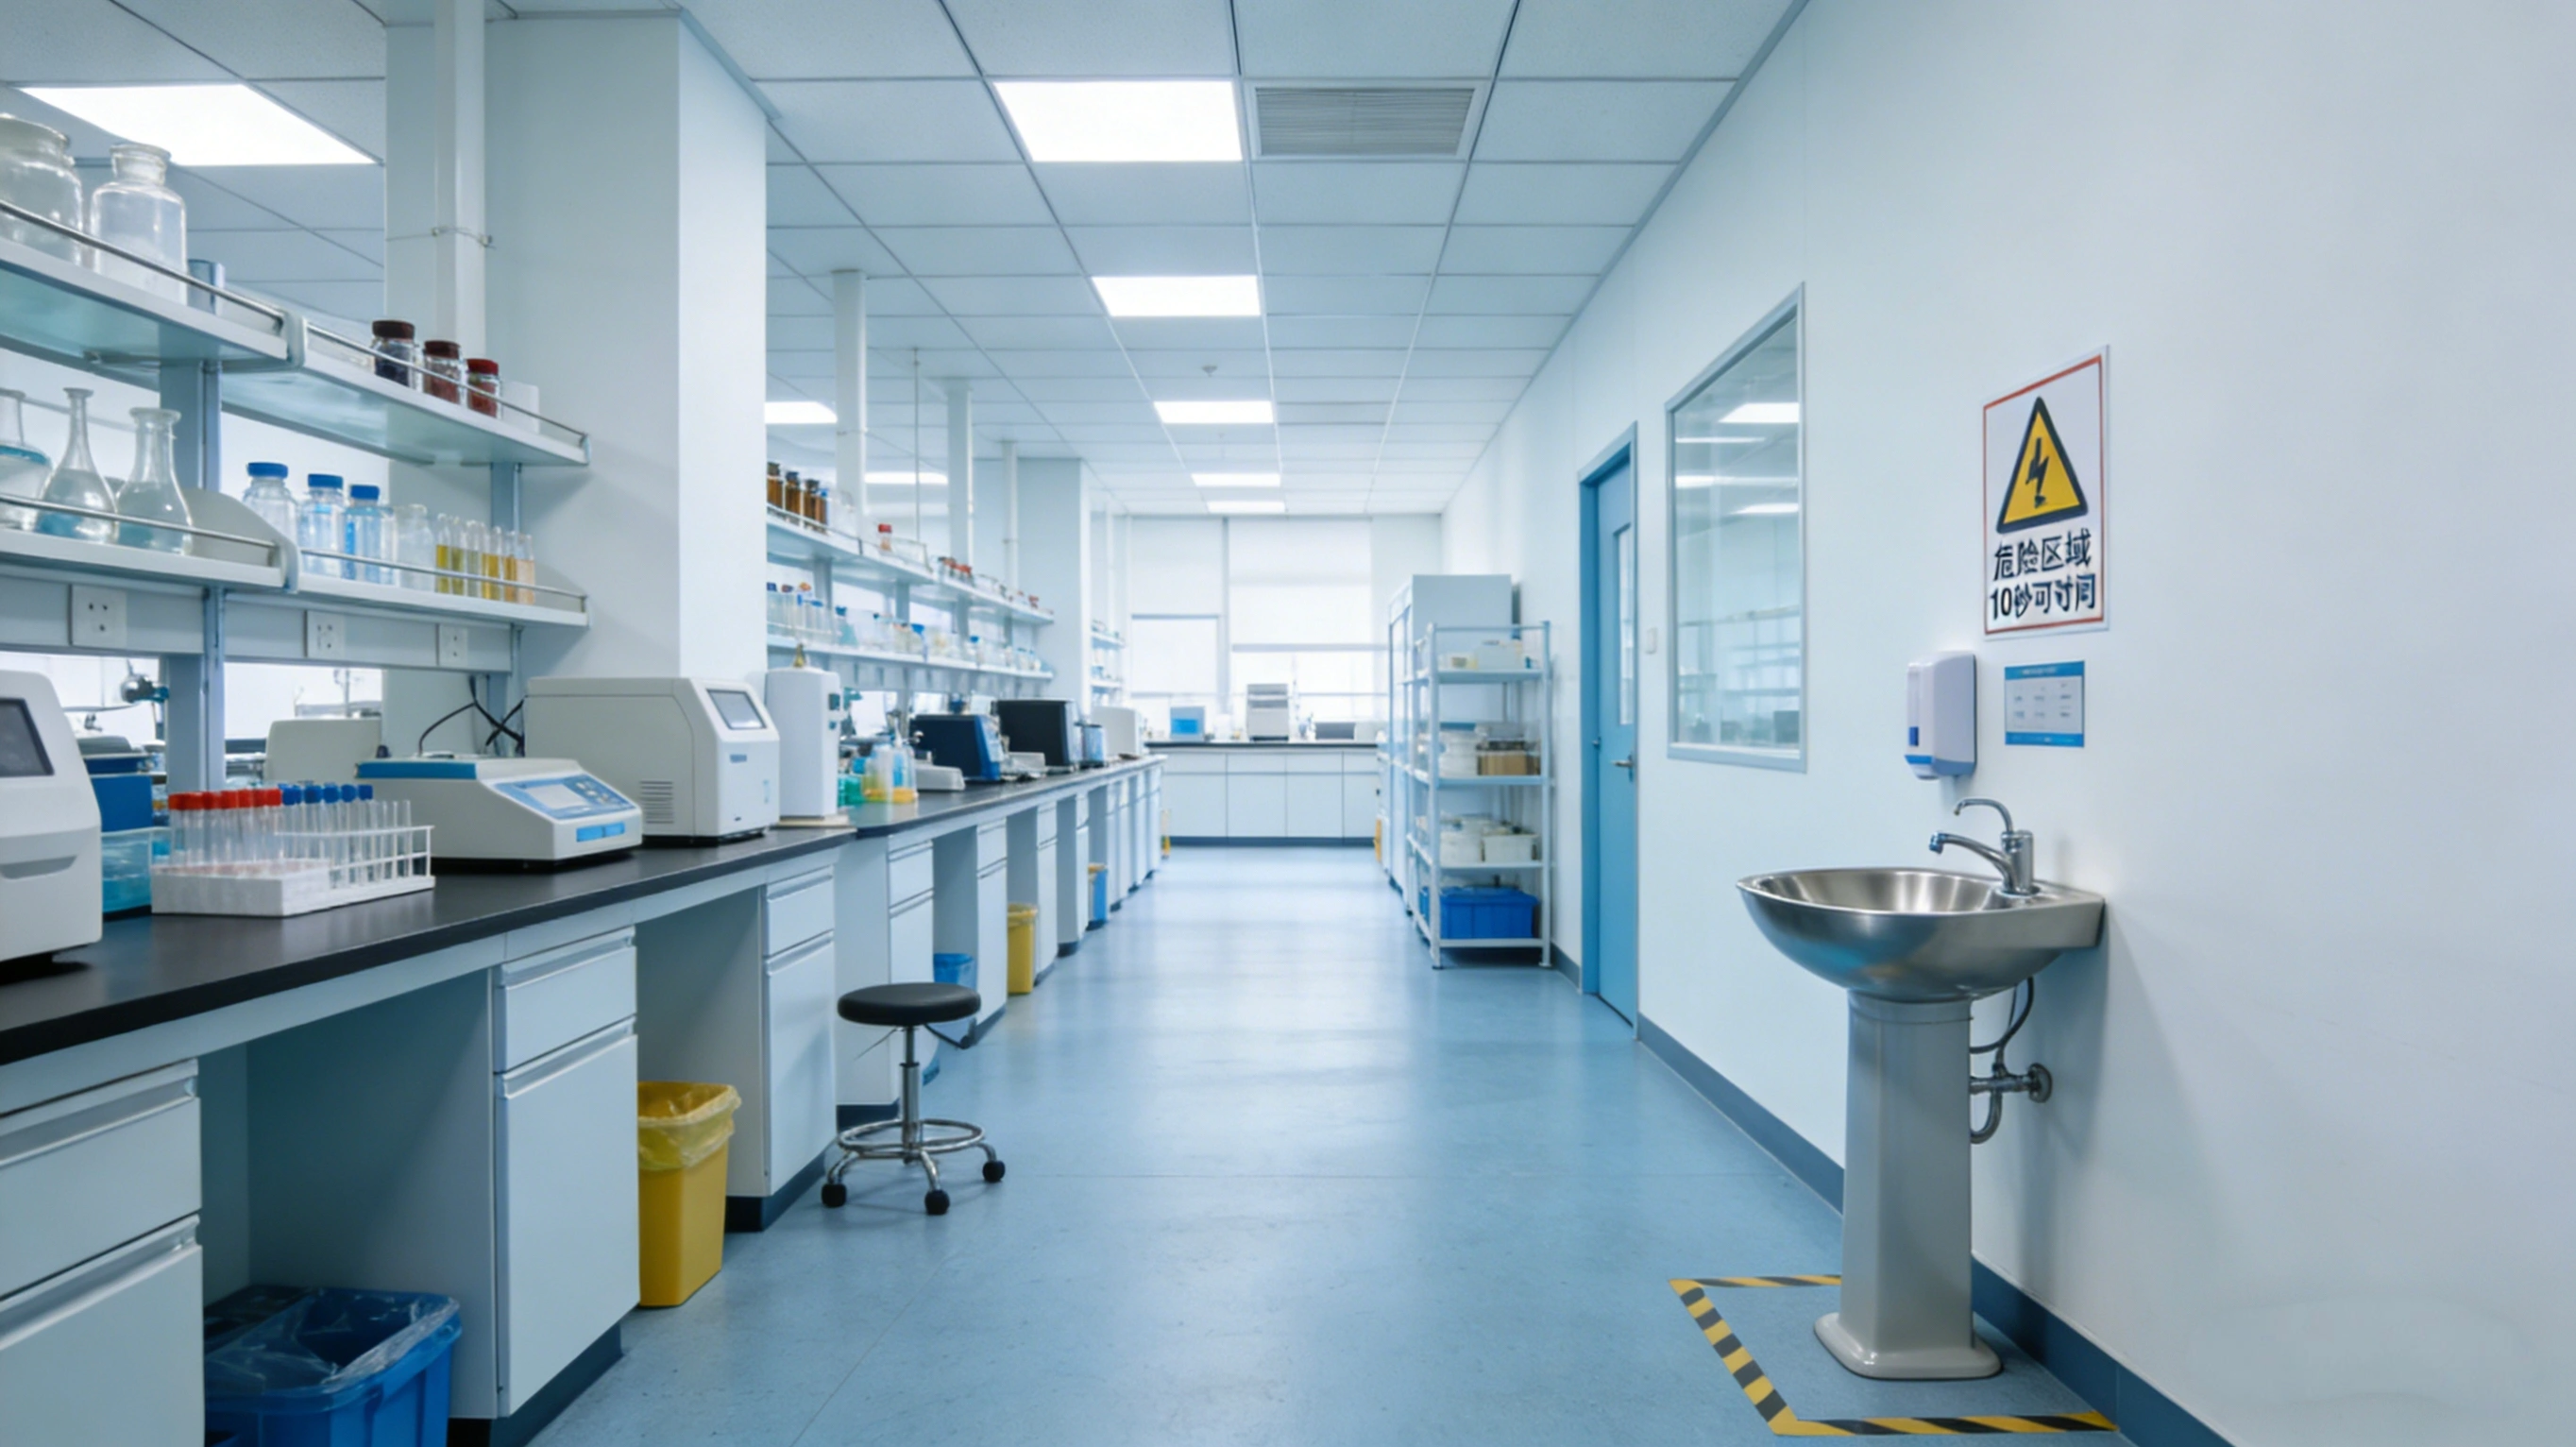
Choose Materials That Last
Aesthetics matter less than chemical resistance.
Worktops:
Use epoxy resin for solvents, stainless steel for heat, or compact laminate (e.g., Trespa) for general biology.
Flooring:
In wet labs, sheet vinyl with welded seams is essential to prevent water damage and microbial growth.
Build in Flexibility
Science changes fast. Design for it:
Service lids:
Benchtops with removable panels allow easy access to gas, water, and data lines.
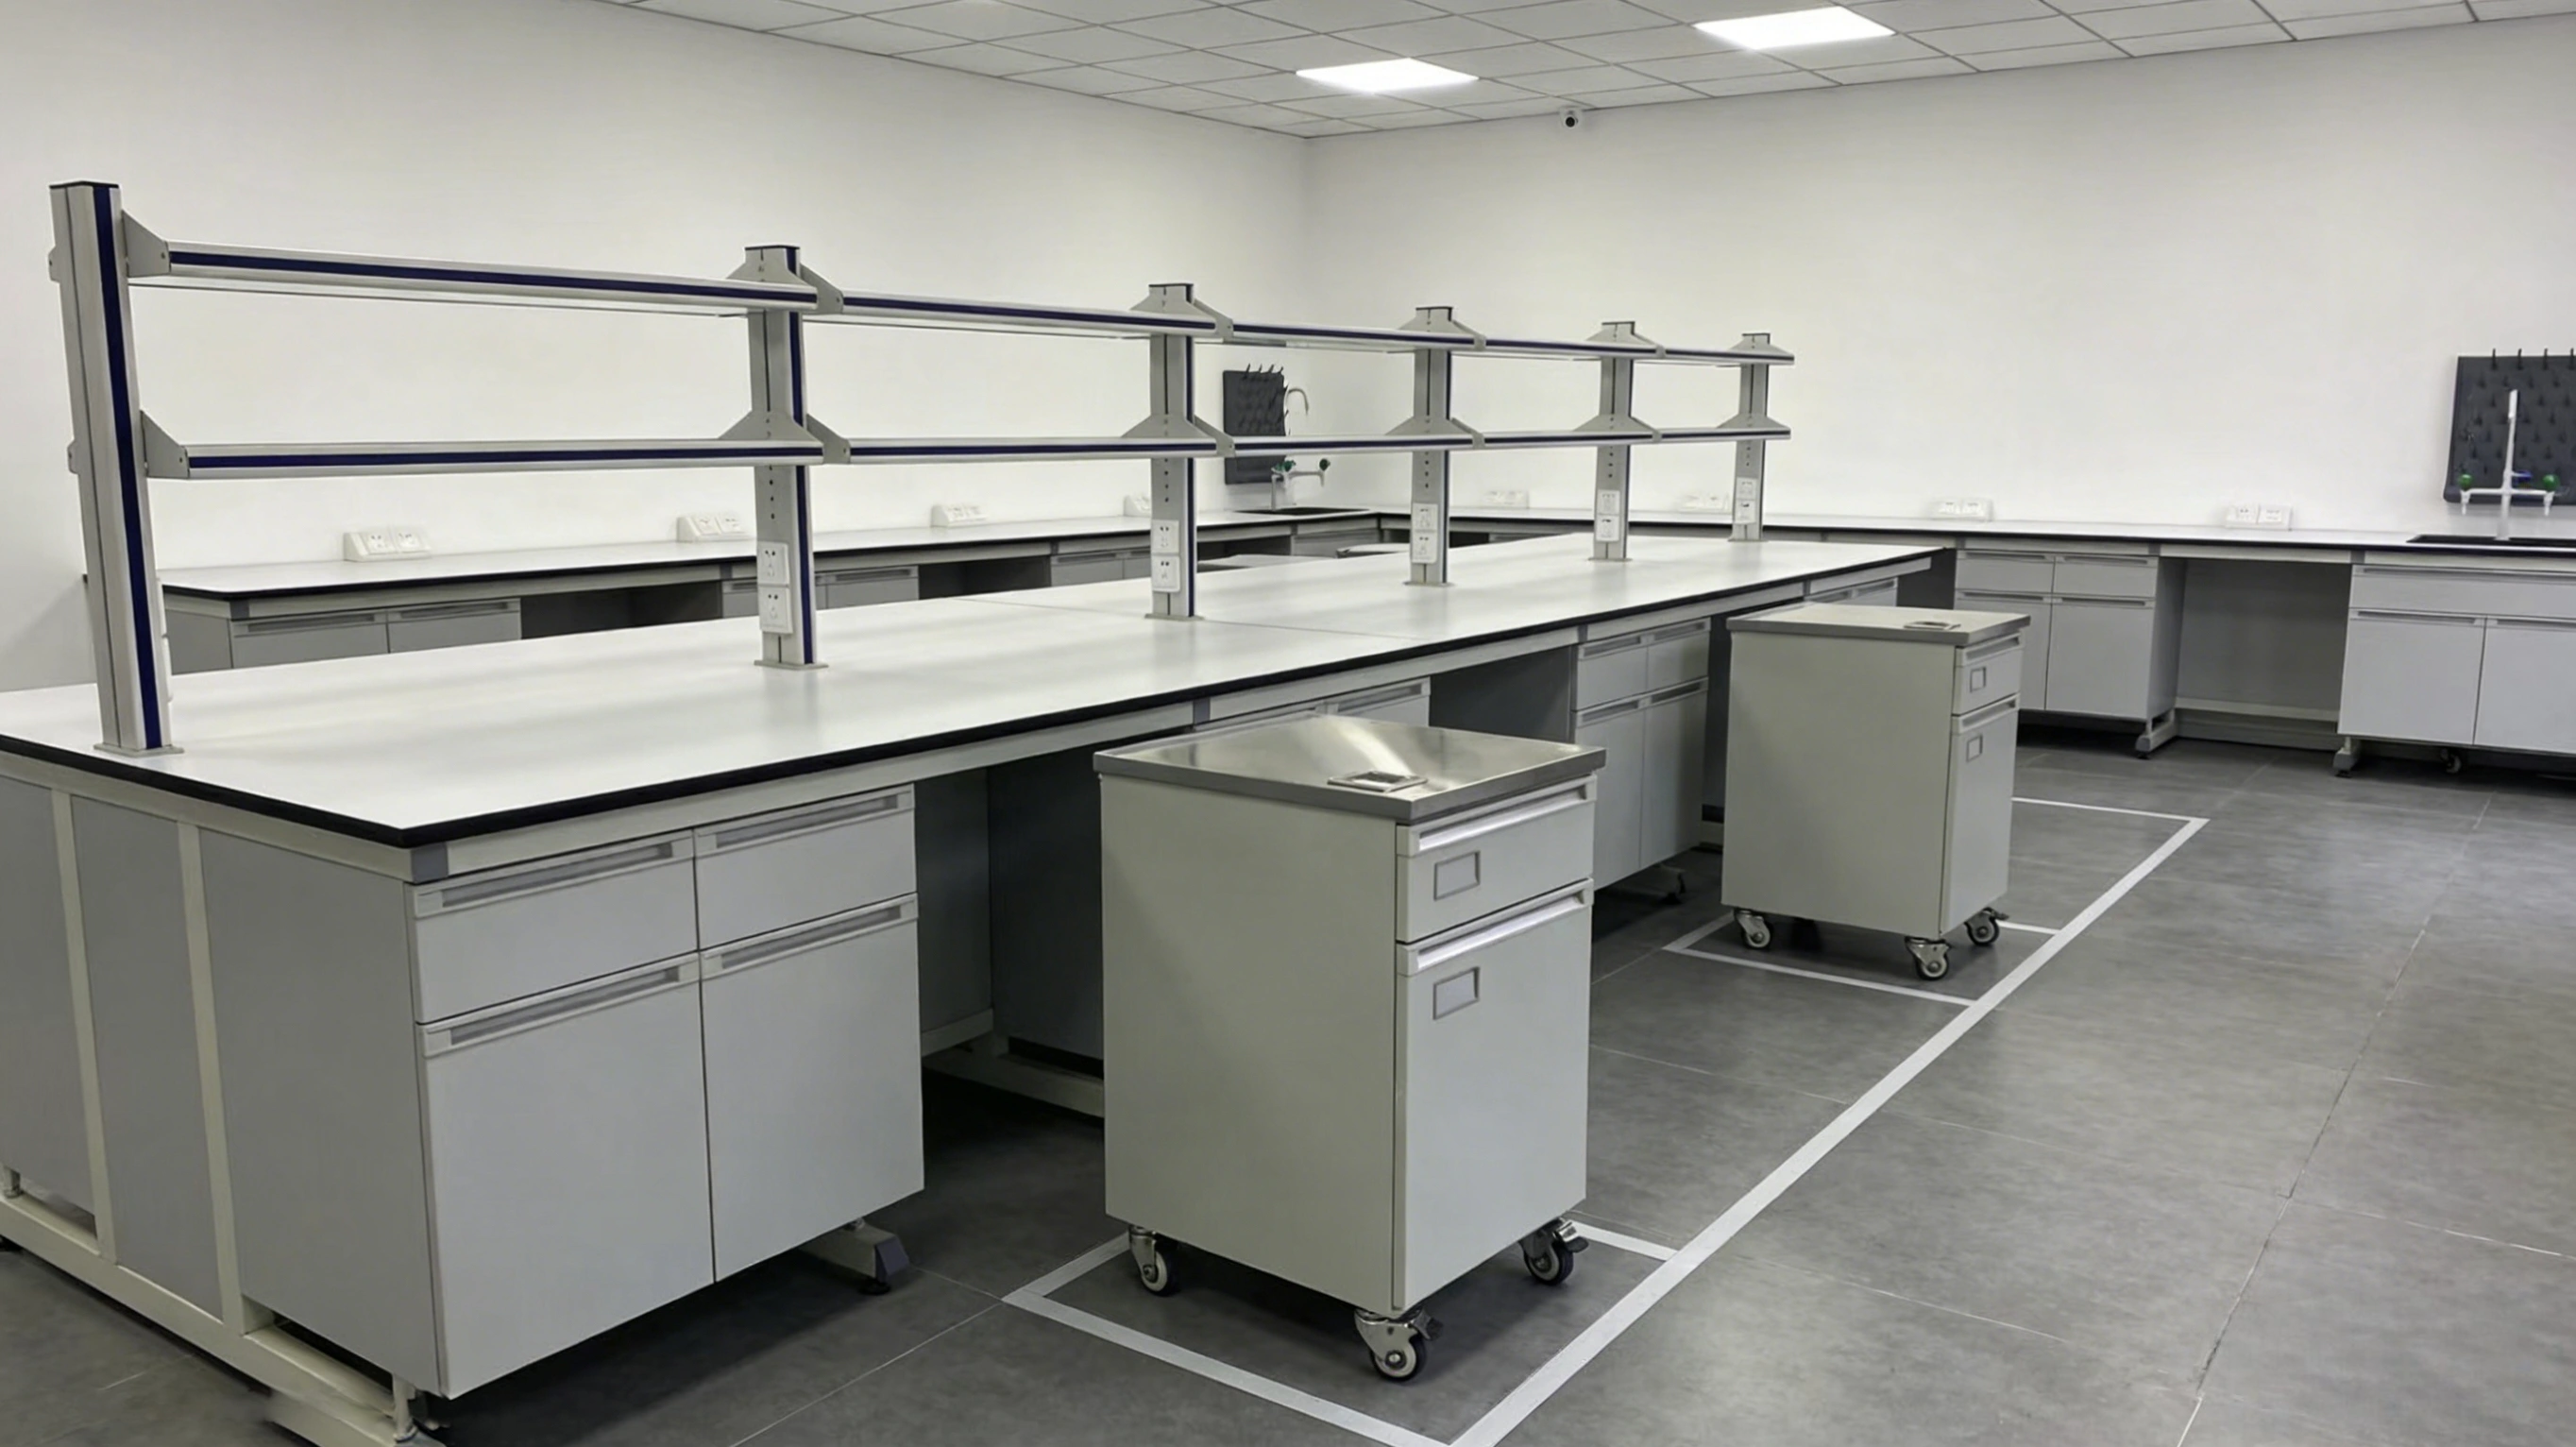
Mobile furniture:
Height-adjustable and movable units let you reconfigure quickly without contractors.
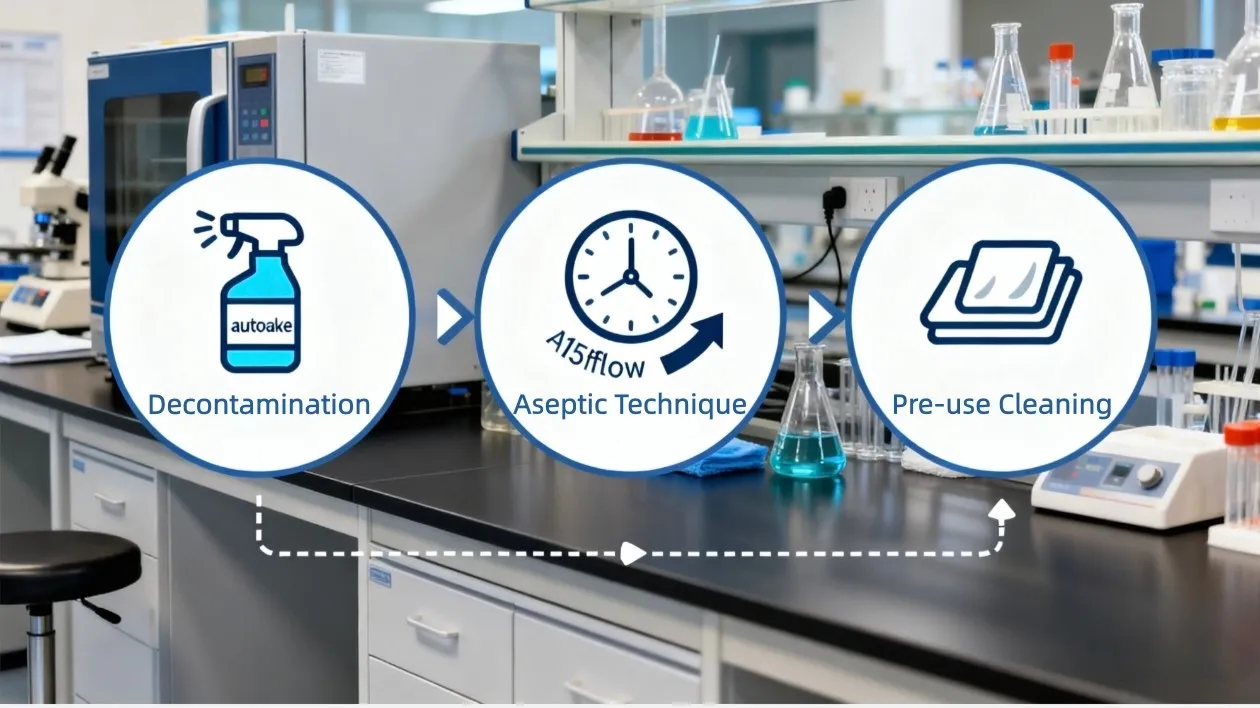
Design for Real-World Safety
Compliance is the minimum. Go further:
Eye wash stations:
Place them within 10 seconds of any hazard, path unobstructed.
view more
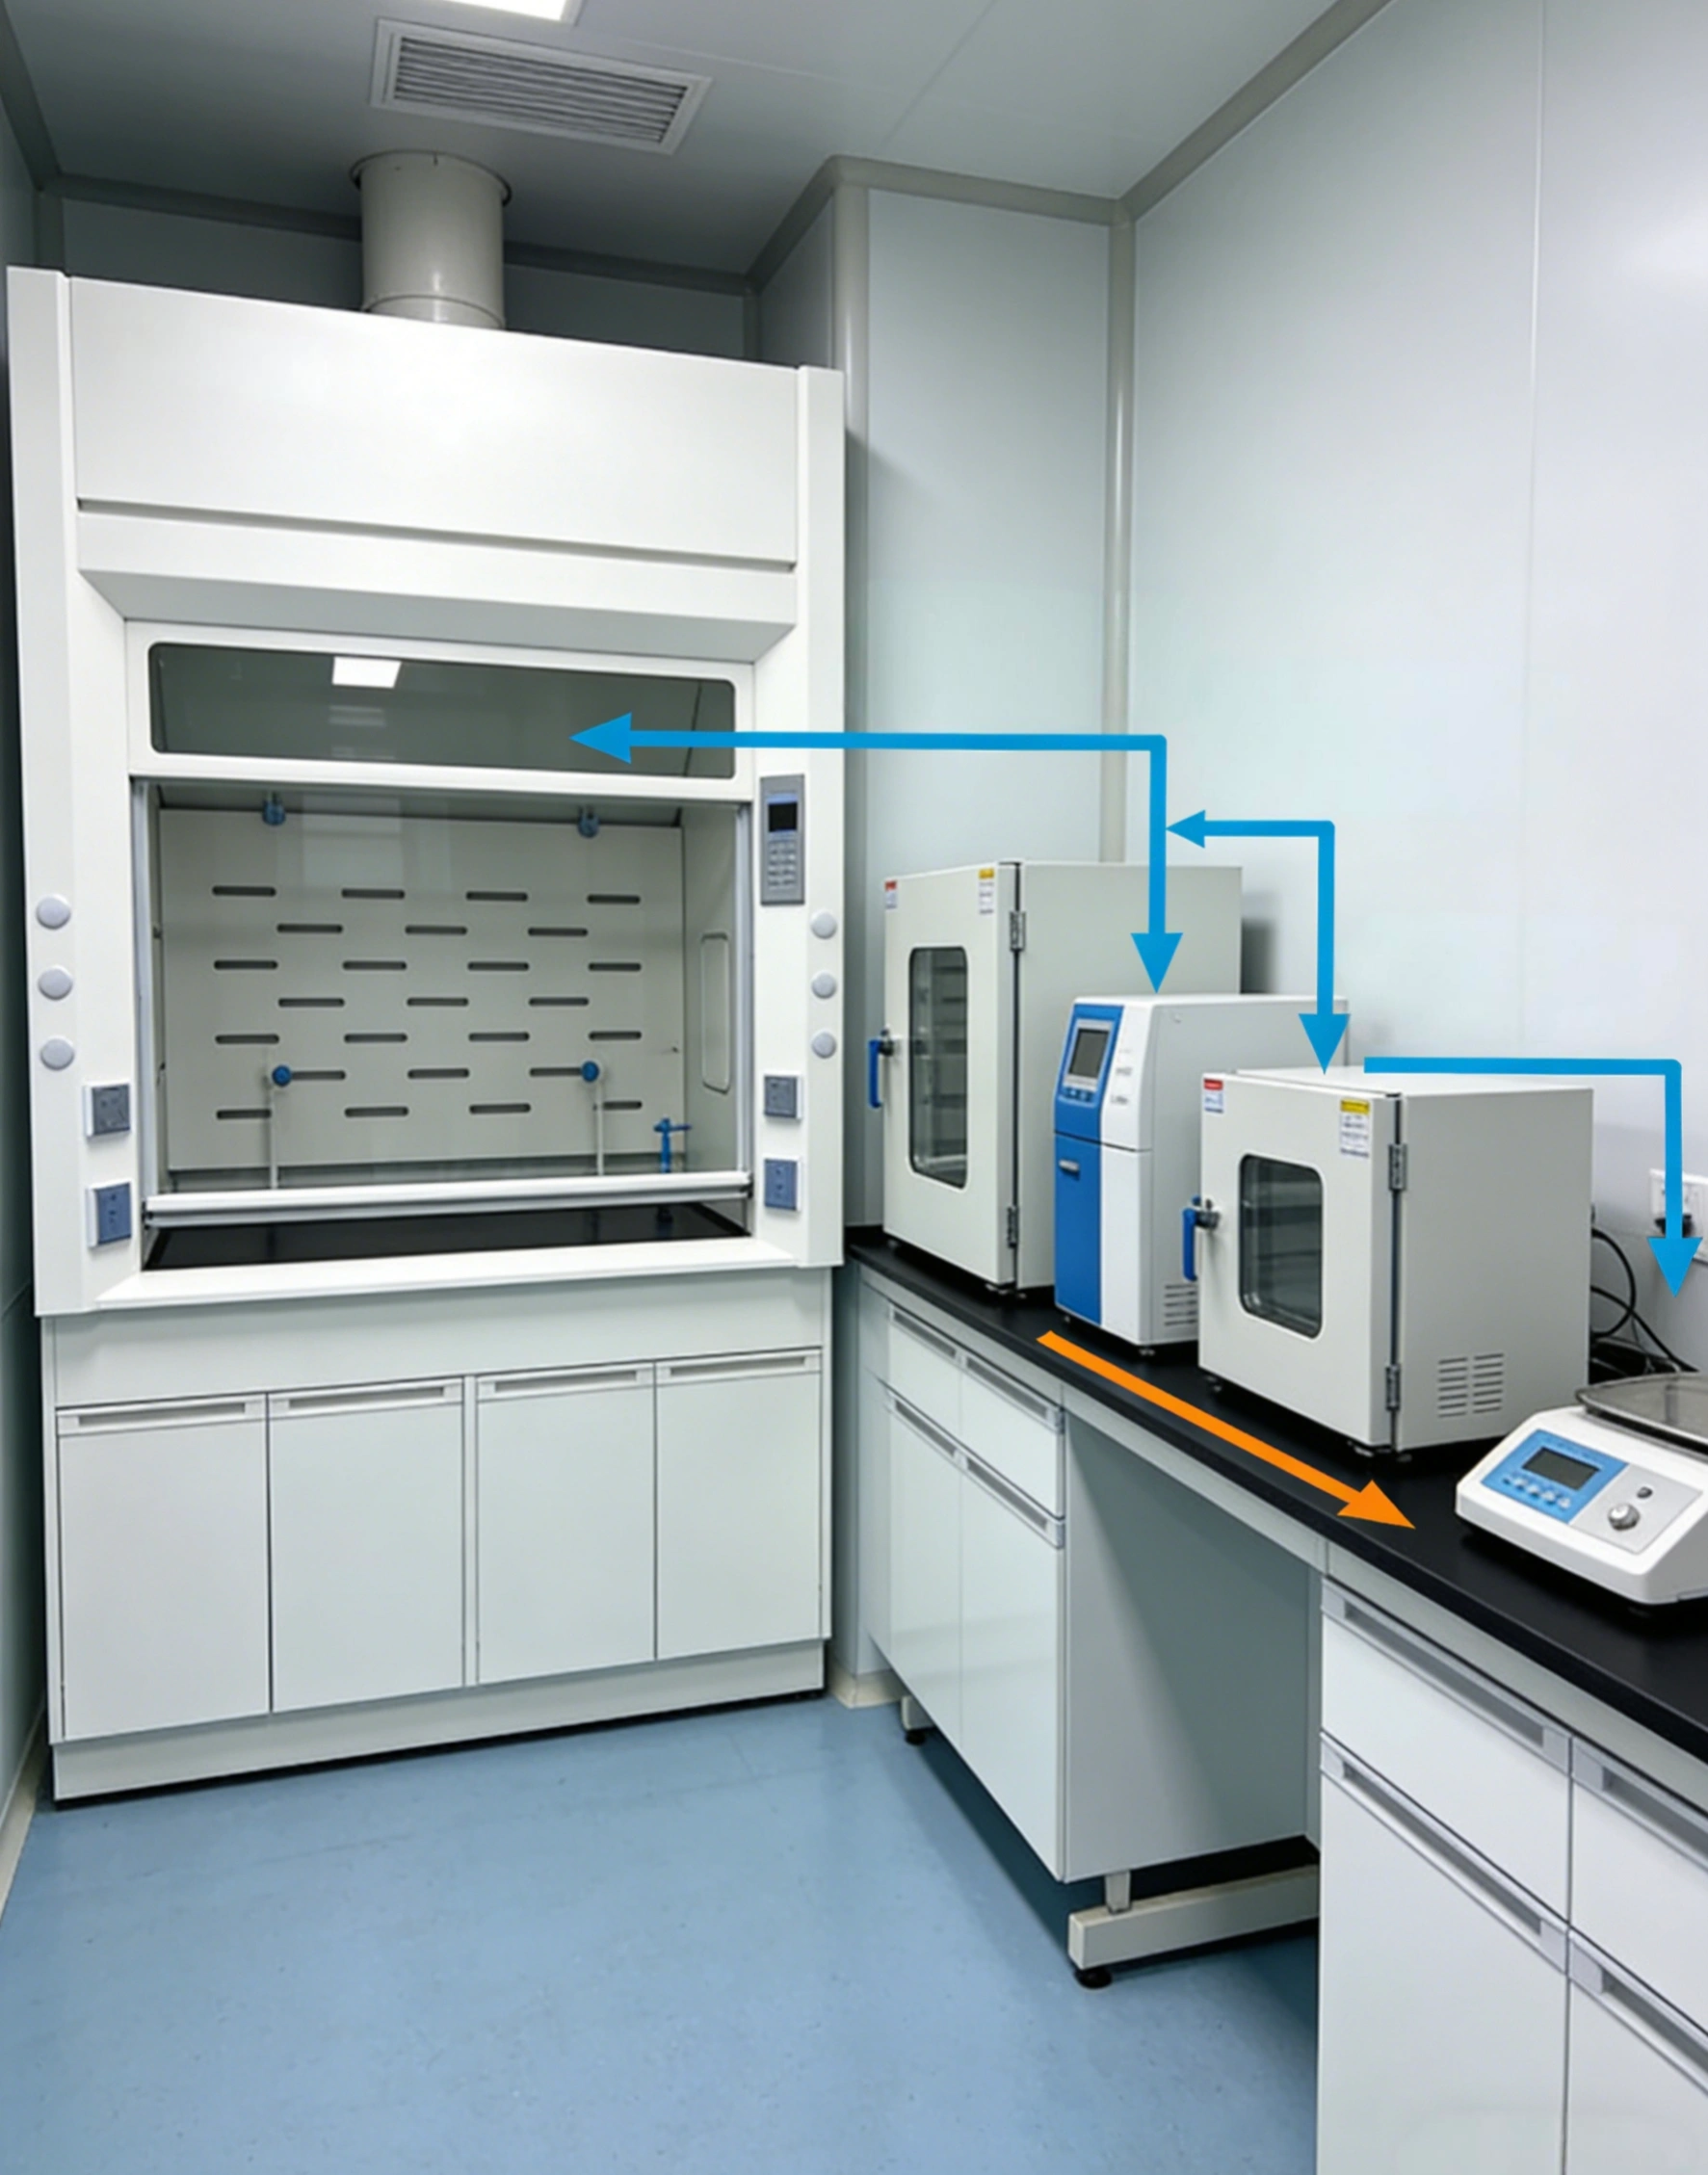
Ventilation:
Position fume cupboards away from traffic and doors. Watch for the “stack effect” where hot equipment disrupts airflow.
view more
Time Your Procurement
Biggest mistake? Buying equipment before construction ends. Dust kills precision instruments.
Finalize your equipment list early, but stage deliveries:
Order casework first.
Bring in heavy items like -80°C freezers only when floors are ready.
Save sensitive instruments for last, after the space is deep-cleaned.
conclusion
Balance workflow and safety with structure and materials. Plan ahead, choose durable surfaces, and stay flexible.
Need lab furniture or equipment? [Browse our range] or [contact us] for a free consultation.